General
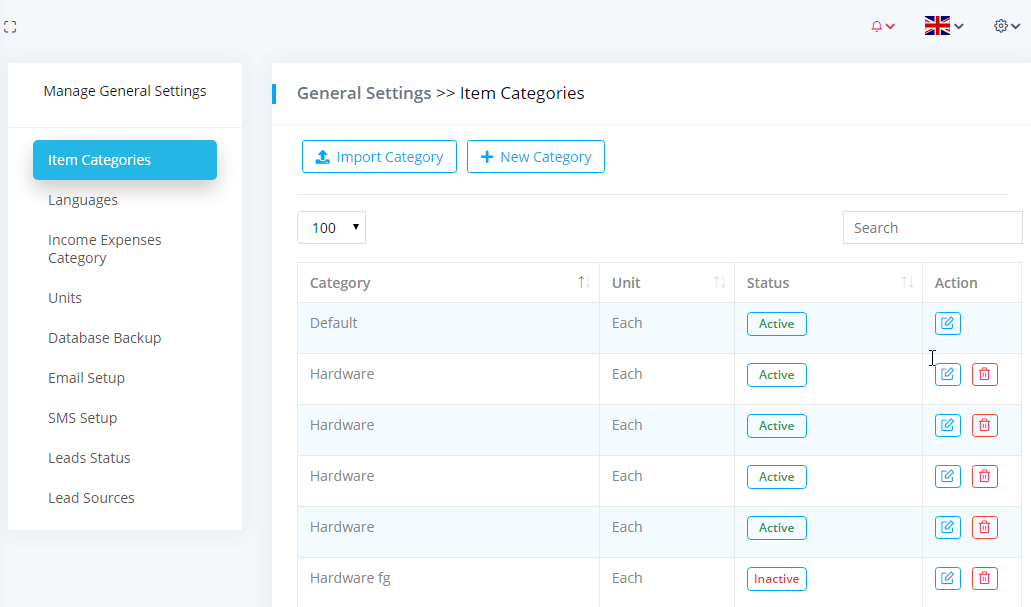
Item categories
To manage item categories, go to Settings > General Settings > Item categories. In item categories you can add, edit and delete categories.
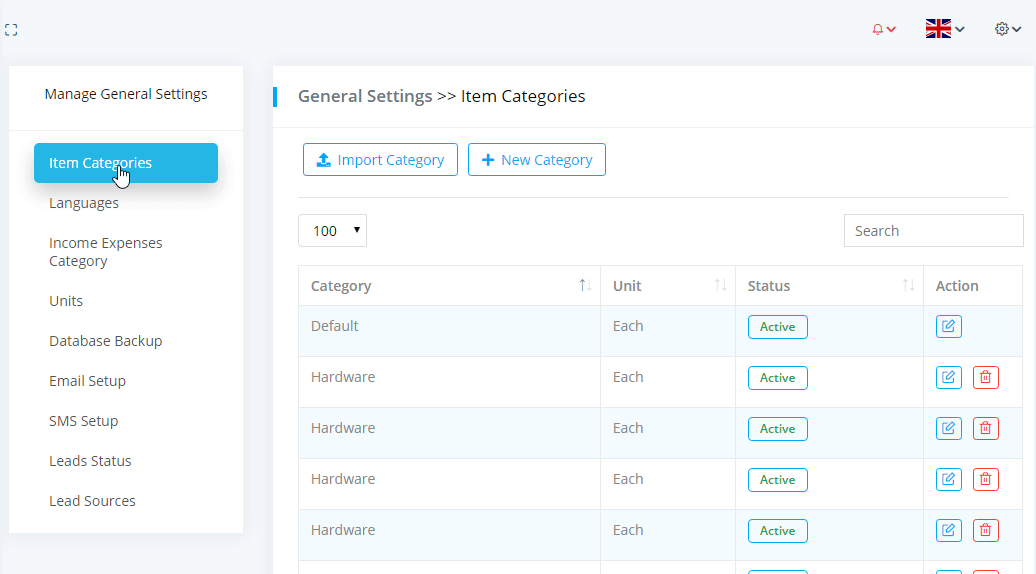
If category has record, it will not allow to be delete. And there will be a default category which also not allow to be delete.
Import Categories
You can import csv file to add item categories, go to Settings > General Settings > Item categories. CSV data should be in the format below. The first line of CSV file should be the column headers as in the table example. Also make sure that file is UTF-8 to avoid unnecessary encoding problems.
Duplicate categoty rows wont be imported AND Abbr should be matched with Abbr of Units
Income Expense Category
Depends on income & expense here categories are created. Go to Settings > General Settings > Income/Expense Categories. To add category you have to choose the category each time depends on income/expense category name. When it is income select the category as income when its expense select the expense category. After selecting the income category it will show in transaction as income and in expense it will show as expense.
If category has record, it will not allow to be delete.
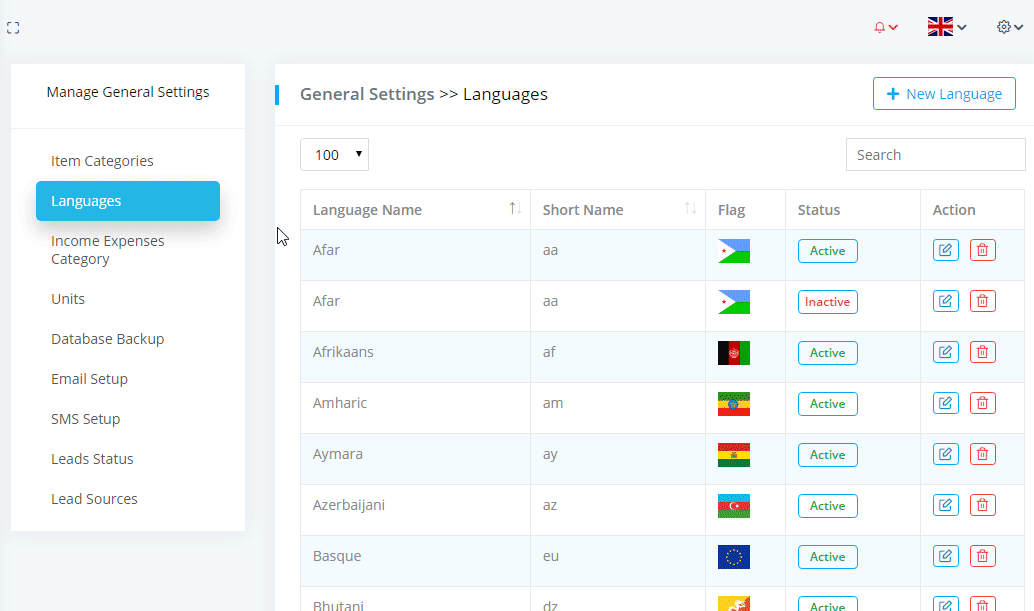
Units
Go to Settings > General settings > Units By default Each is set as default unit. You can add/delete/edit units.

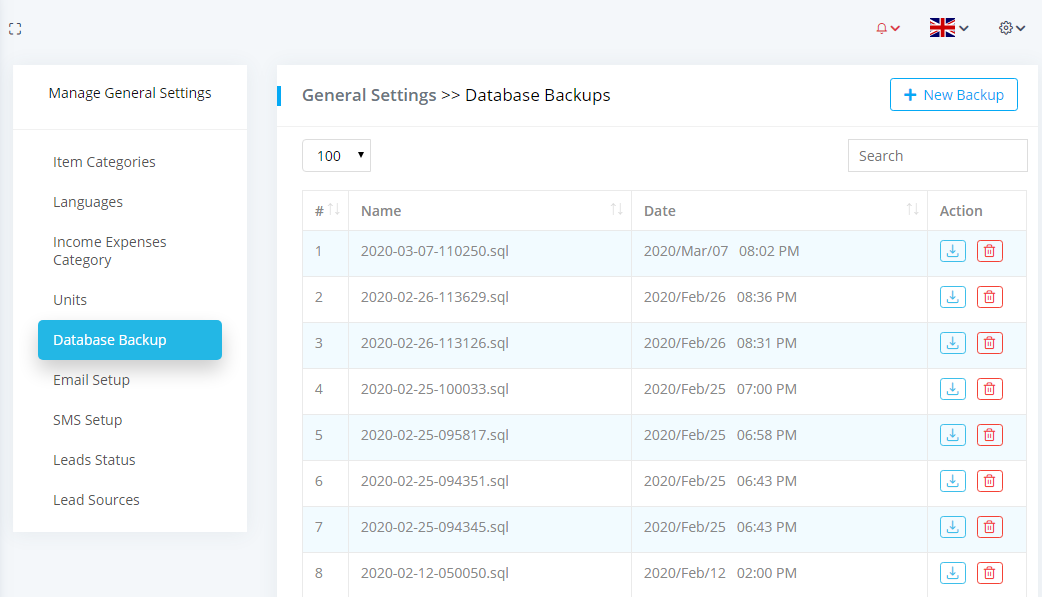
Database Backup
Click on New Backup & Download backup file from download option.
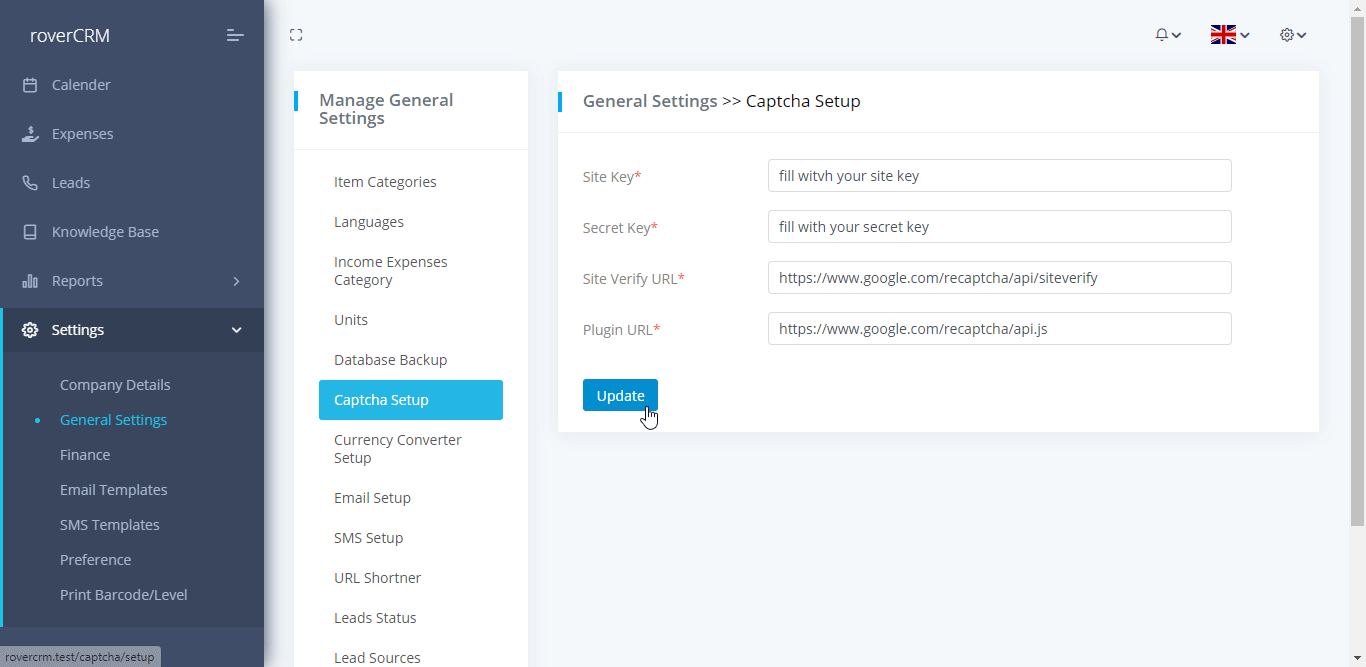
Captcha Setup
Click on Captcha Setup You can setup captcha in your application.
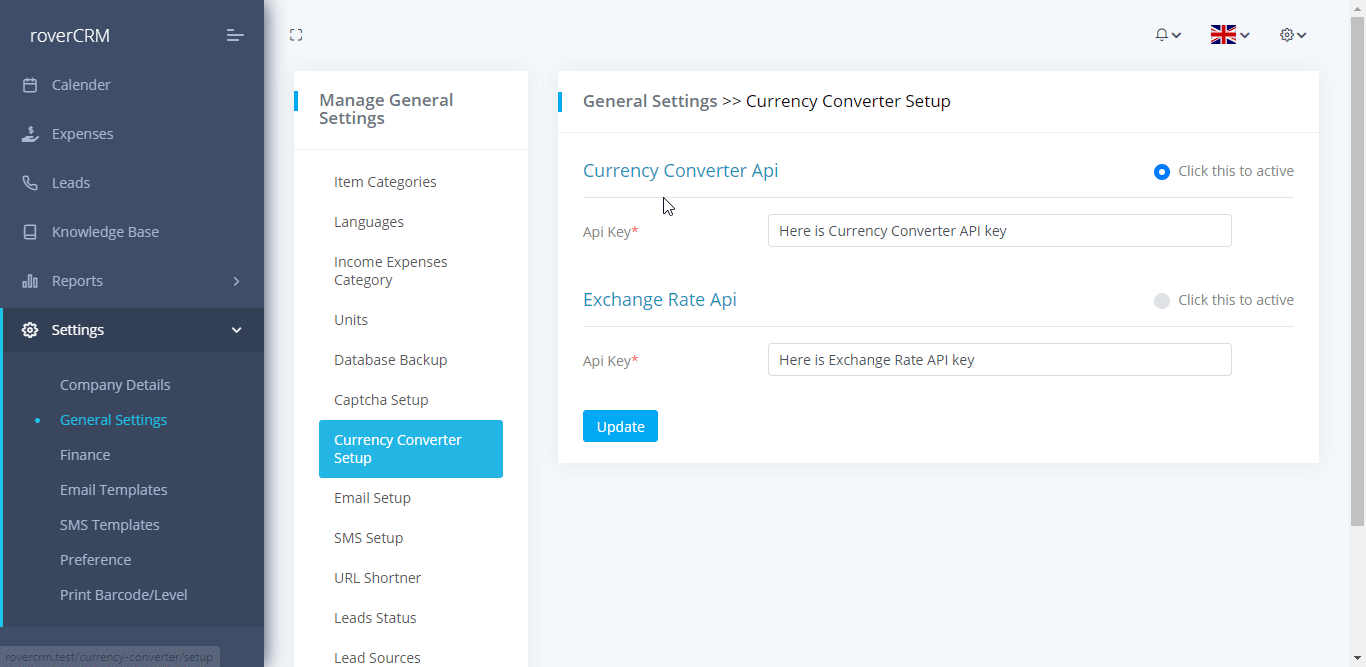
Currency Converter Setup
Click on Currency Converter Setup You can setup Currency Converter from API in your application.
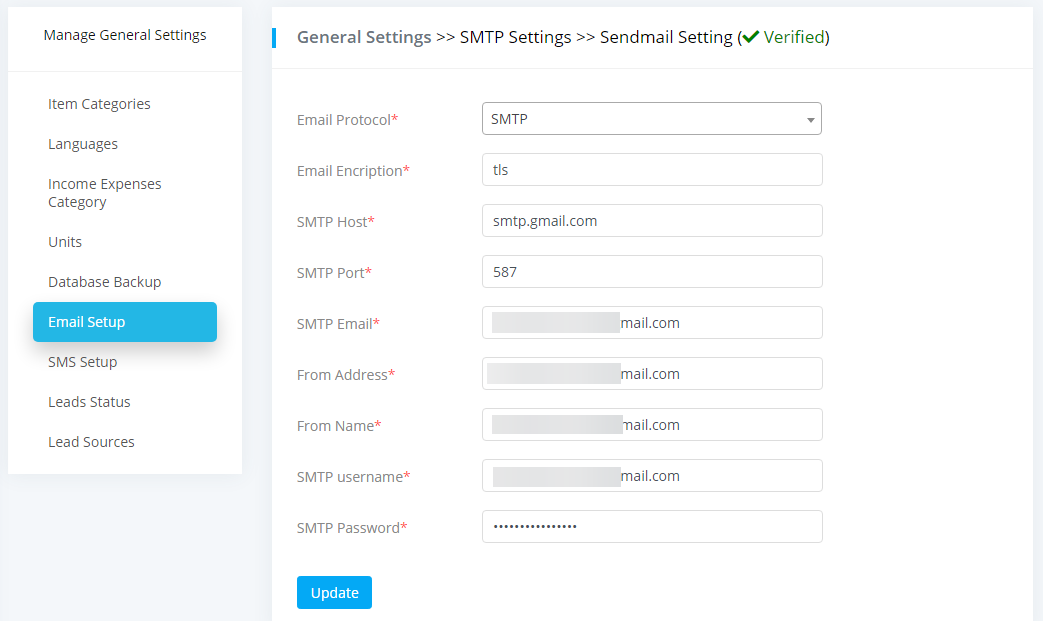
Email Setup
We offers two email sending protocol Send mail & SMTP. To get mail need to configure mail settings.
To send mail, it's you should not worry about this that much. Even you don’t have to configure any thing just go to Settings > General settings > Email setup > select Send mail option (Two option available, SMTP and Send Mail) then click on Submit button.
SMTP Configuration:
To config SMTP you have to follow the following procedure. You will need to setup SMTP settings for your general email account that all emails from this system will be sent. To setup SMTP Configuration put the necessary valid info for configuration.
he below examples are general examples how to configure SMTP to send an email, keep in mind that the examples may be different then your actual server requirements, the best is to consult with your hosting provider to provide you the correct SMTP configuration.
SMTP server over port 25
SMTP Host: yoursmtphost.com
SMTP Port : 25
SMTP Email: Your email
SMTP Password: Your password
SMTP servers that require SSL connection
Encryption: SSL
SMTP Host: yoursmtphost.com
SMTP Port : 465
SMTP Email: Your email
SMTP Password: Your password
For Gmail use the following configuration
Encryption: SSL
SMTP Host: smtp.gmail.com
SMTP Port : 465 / For TLS encryption use port 587
SMTP Email: youremail@gmail.com
SMTP Password: Your password
It's recommended to use the SMTP email protocol to get the best experience when sending email from roverCRM.
If you are having problems setting up SMTP the best option is to contact your hosting provider and consult with them to give you the correct SMTP configuration or check any email logs stored on the server.
If your using Gmail/G Suit you need to have enabled less secure apps in your account.
Common Issues:
Could not connect to SMTP host
The mail server is blocking connections from the server. (contact/consult your hosting provider to unblock) The server is blocking outgoing connections to the mail server.(contact/consult your hosting provider to unblock) The SMTP settings entered under Setup > Settings-> Email are not correct. Consult your server administrator/hosting provider that you have entered the correct SMTP config.
Common issues with Gmail or G Suite – Invalid username or password
Invalid username or password when use Gmail or G-Suite can be a common error if you haven’t turned Less Secure Apps to ON, however, it’s recommended first to check if your password is correct.
Connect Your Gmail
By connecting your personal or business email accounts to Direct Sidekick your customers and team members will receive their invoices and emails directly from your email account not a third-party email service!
Below are the instructions for connecting some of the popular email services. Feel free to if you have any questions and we will be happy to help!
For each of these options you will need to setup an “App Password” and I will show you how below.
Connect Your Gmail Account
-
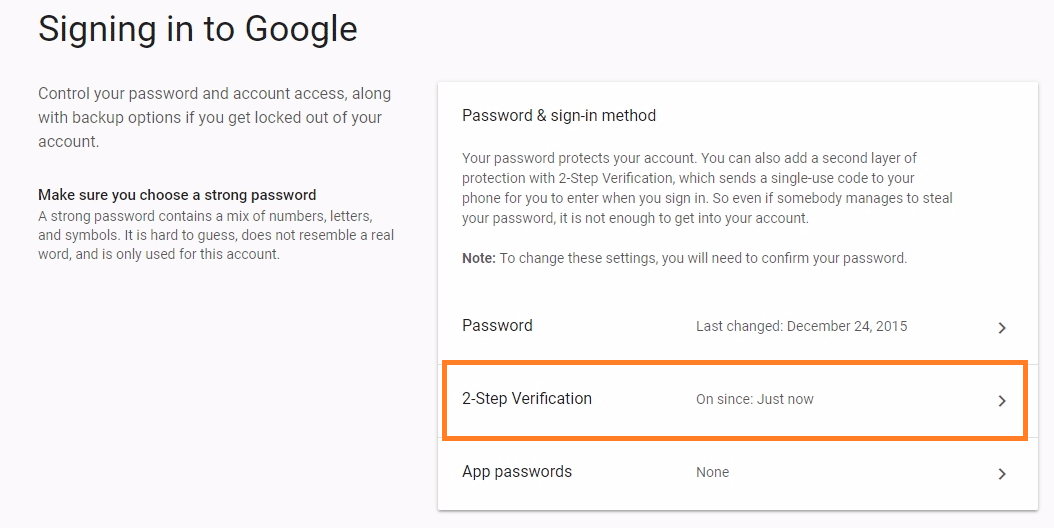
Log into your Gmail account
-
Click on Signing in to Google link
-
Click to turn on 2-Step Verification and follow instructions given.
-
Click App Passwords.
-
Choose “Other” in the Select app dropdown, name it Direct Sidekick and click Generate.
-
Copy your new generated app password:
-
Login to your Direct Sidekick account and navigate to the Email Setup page (Settings -> General Settings -> Email Setup). Complete the form with the settings listed below and click Submit:
`Email Encription – tls`

`SMTP Host: smtp.gmail.com`

`SMTP Port: 587`

`SMTP Email: your Gmail address`

`From Address: your Gmail address`

`From Name: Your name`

`SMTP Username: your Gmail address`

`SMTP Password: the App Password you just setup in step 6 above`
SMS Setup
Go to Settings > General settings > SMS Setup to setup SMS configuration. To setup SMS of twilio you will need key and secret.
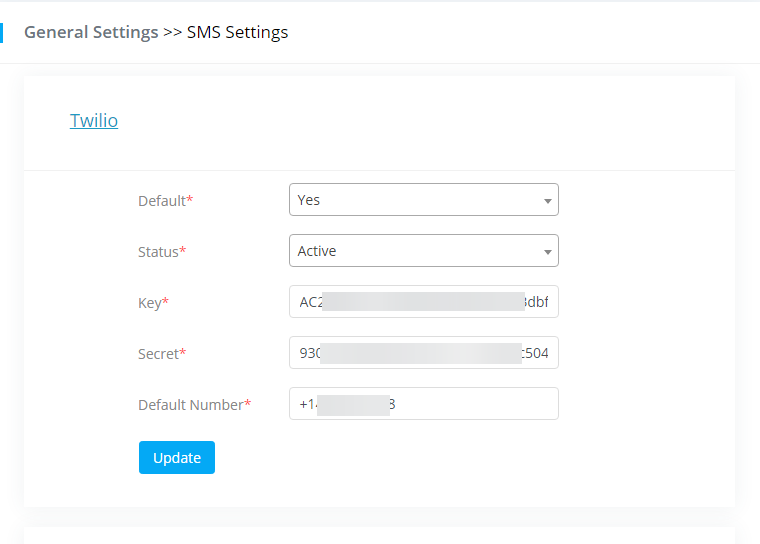
To get those credentials of Twilio account click here
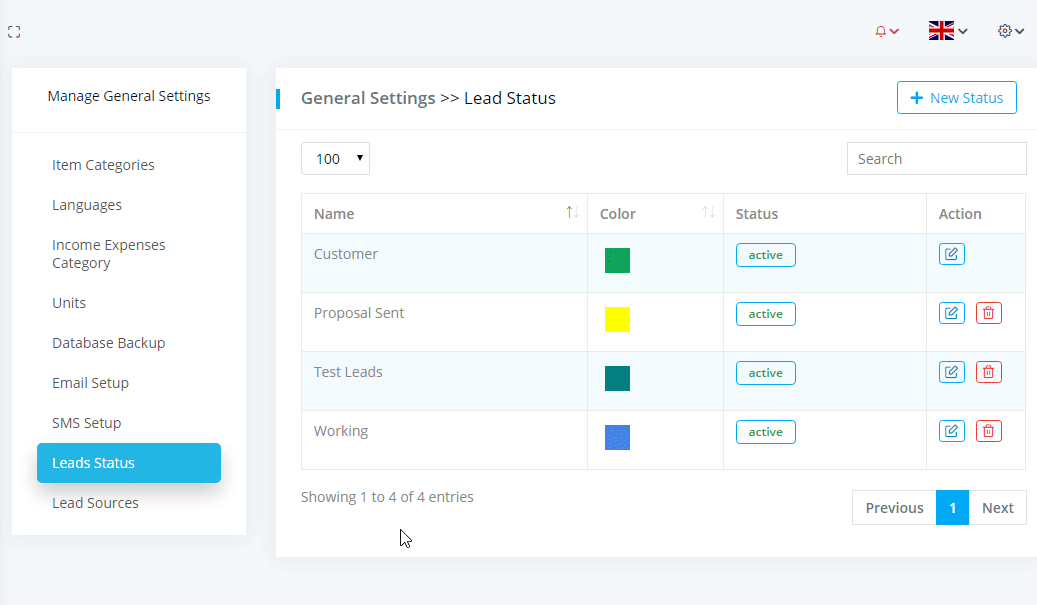
Leads Status
To manage Leads Status, go to Settings > General Settings > Leads Status. In Leads Status you can add, edit and delete categories.
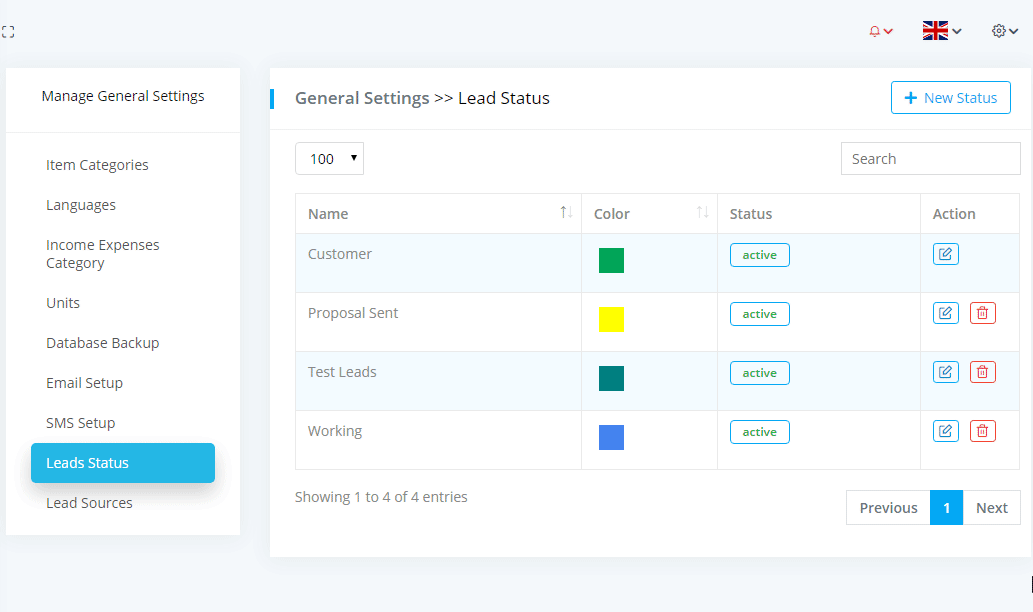
If Leads Status has record, it will not allow to be delete. And there will be a default Leads Status which also not allow to be delete.
Lead Source
To manage Lead Source, go to Settings > General Settings > Lead Source. In Lead Source you can add, edit and delete categories.
If Lead Source has record, it will not allow to be delete. And there will be a default Lead Source which also not allow to be delete.
Group
To manage Group, go to Settings > General Settings > Group. In Group, you can add, edit and delete group.
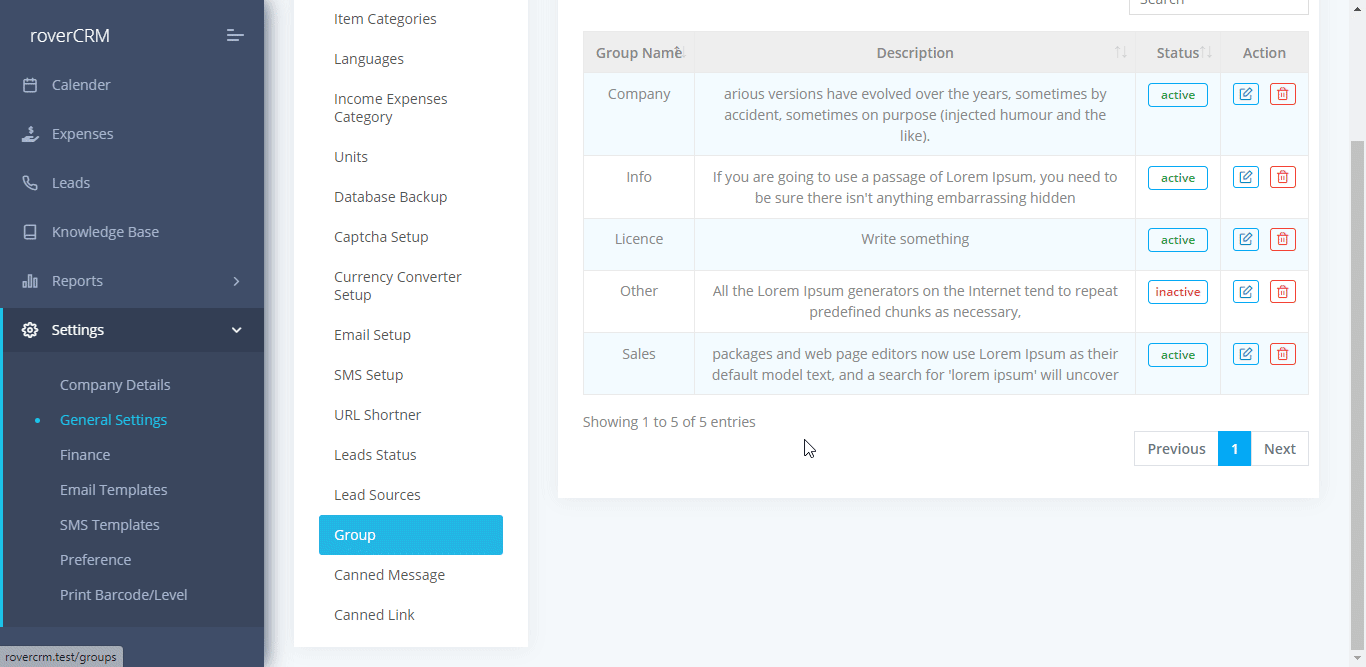
Group name must be unique.
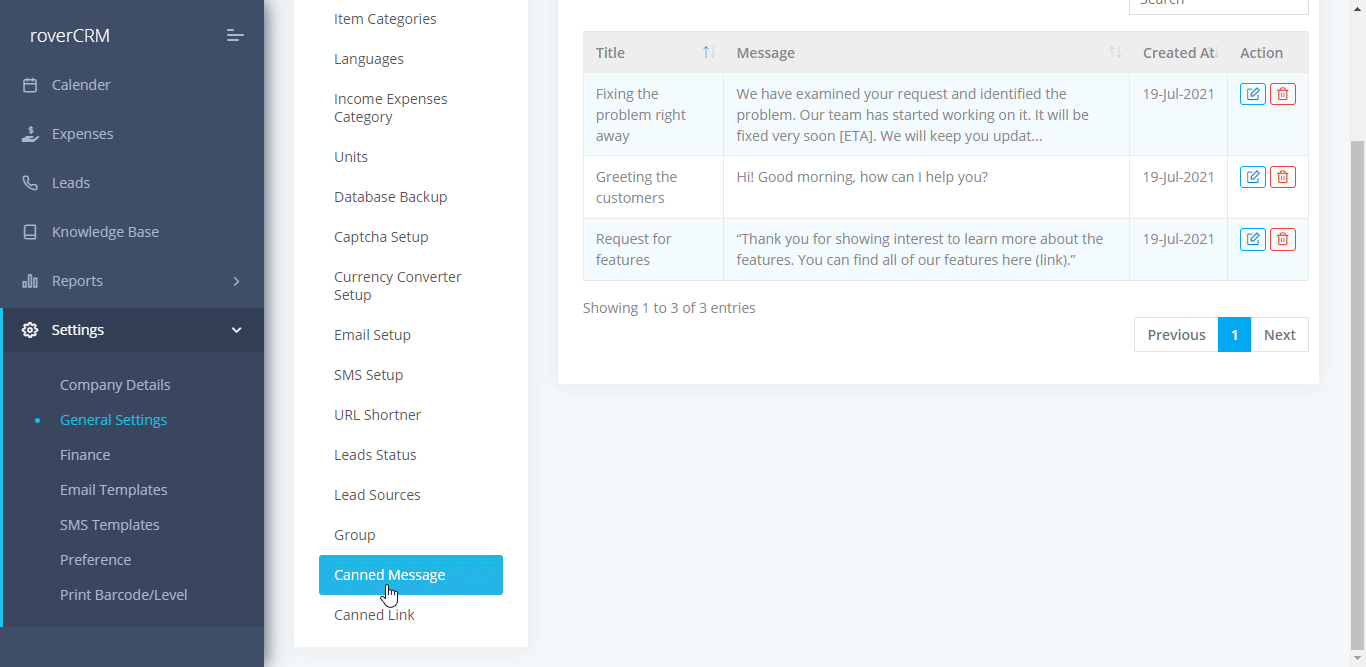
Canned Message
To manage Canned Message, go to Settings > General Settings > Canned Message. In Canned Message, you can add, edit and delete Canned Message.
Canned Link
To manage Canned Link, go to Settings > General Settings > Canned Link. In Canned Link, you can add, edit and delete Canned Link.
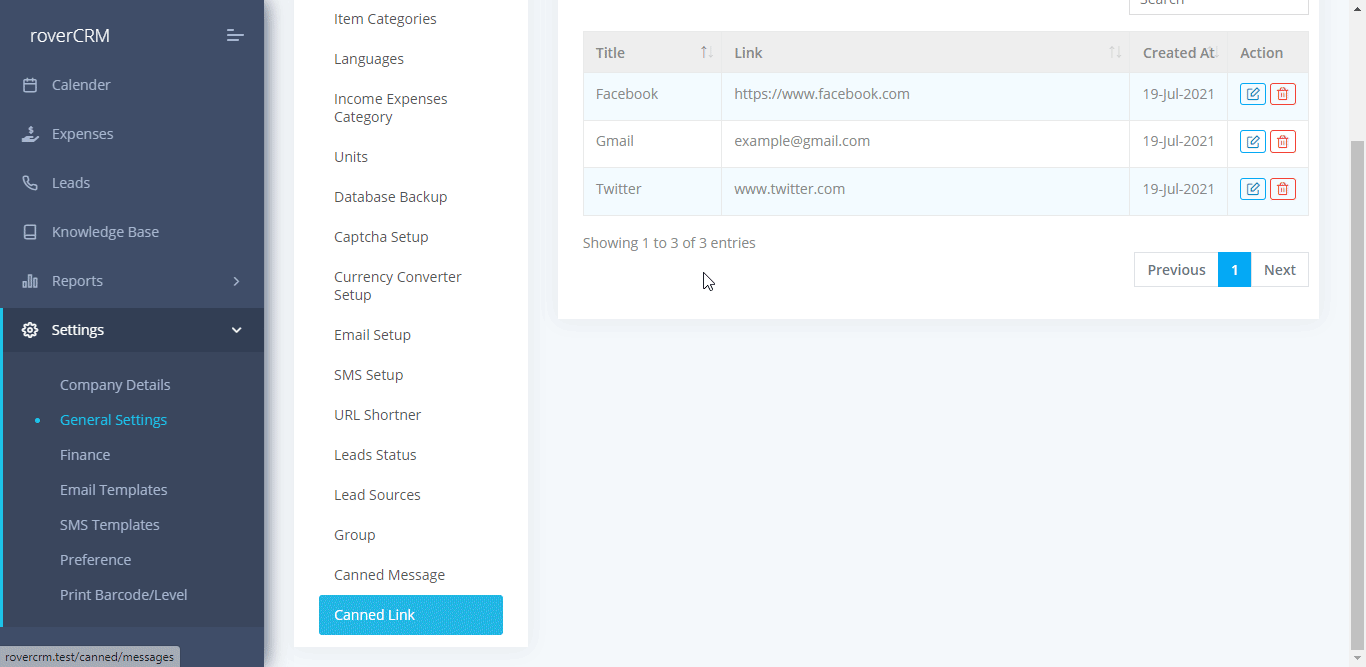
Link must be valid